In the first part of this article series, we covered off the Recording aspects of Hybrid Log Gamma (HLG) with a heavy focus on correct exposure settings and correct metering. In this second portion, we will cover off normalizing imported HLG media.
If you haven’t already read Part 1 of Recording & Editing with Hybrid Log Gamma, it is highly recommended to do so before reading further below.
Scene Referred vs Display Referred
Before we proceed, it must be reiterated that there are two aspects of Hybrid Log Gamma – a Scene Referred aspect which is encoded directly from a Camera and a Display Referred aspect which is relevant for displaying on a TV/Monitor. The key differentiator is that in a Display Referred context, HLG normally includes an opto-optical transfer function (OOTF) which transforms Scene Referred content into Display Referred content, such as an HLG 1000 NIT output from an HLG recording. Scene referred content on the other hand is as encoded directly from a camera. When we import footage recorded from a camera, this is almost always Scene Referred.
Importing & Normalizing HLG
When it comes to importing HLG media across Video Editing and Visual Effects applications, the end-user experience can be a hit and miss. Some Applications support the HLG BT.2100 profile natively and some exhibit problematic behavior. Assimilate Scratch, Final Cut Pro, Adobe Premiere and DaVinci Resolve all support the import and export of HLG content. Importing HLG content into these respective applications is fairly straightforward if one follows the correct procedures. However, none of these applications support normalization of HLG content recorded using the HLG BT.2408 recommendations of exposing at 38% IRE, nor do they support the custom Sony HLG profiles. With that said, let’s take a look at how to import and normalize HLG content across the different applications.
Adobe Premiere and Final Cut Pro
The steps to conform standard HLG BT.2100 content into Adobe Premiere can be found in Adobe’s online documentation.
The steps to conform standard HLG BT.2100 content into Final Cut Pro can be found in Apple’s online documentation.
As noted earlier, none of these applications support conforming HLG content recorded using the HLG BT.2408 recommendations, nor do they support normalization of the custom Sony HLG profiles which would otherwise be conformed to an incorrect gamma curve. With the likes of Adobe Premiere and Final Cut Pro, the HLG Normalized LUT Pack can be used as a Camera LUT to normalize recorded footage, whether that is conforming to HLG BT.2408, or Sony’s custom HLG profiles.


To use the HLG Normalized LUTs as Camera LUTs inside Final Cut Pro for example, it’s necessary to perform a Color Space Override on the clip settings tab and select “Rec.2020” as the override option. From there, one can then use the designated Camera LUT based on the HLG Profile.
DaVinci Resolve
In this write-up, we will focus mainly on DaVinci Resolve as it offers a free version and is the most feature rich application of the aforementioned group. With that said, Resolve can be just as confusing to use, even for intermediate level users. We will focus on three workflows: Color Managed, ACES and Non-Color Managed.
Normalizing with Resolve Color Management (RCM)
When using a Color Managed workflow inside DaVinci Resolve, we are exposed to several different HLG parameters as an input source for media:
- P3-D65 HLG 1000 NITs
- Rec.2020 HLG ARIB STD-B67
- Rec.2100 HLG
- Rec.2100 HLG (Scene)
To avoid confusion, Rec.2020 HLG ARIB STD-B67 and Rec.2100 HLG (Scene) are EXACTLY the same – they are normalization methods for Scene referred content as recorded from a Camera. The Rec.2100 HLG profile on the other hand is a Display Referred preset which contains an OOTF transform and is meant for OUTPUT settings, NOT INPUT settings. The P3-D65 HLG 1000 NITs setting is also a Display Referred preset meant for output and limits the color space to P3-D65 primaries. Unfortunately, there are many shonky posts on internet forums and ill-informed YouTube videos that promote using weird settings for input, output or everything in between – they are ALL WRONG. An example of an incorrect setting can be seen in the image below which was conformed using the Rec.2100 HLG preset as an input. The image is extremely darkened due to the usage of the incorrect preset.
If content has been recorded using the HLG BT.2100 specification and correctly exposed, it should be normalized using a Scene referred HLG profile, not a Display referred one. Unfortunately, in a Color Managed workflow, Resolve attempts to detect a clip’s metadata and selects Rec.2100 HLG as the default input preset. This needs to be manually changed to either Rec.2100 HLG (Scene) or Rec.2020 HLG ARIB STD-B67. The image below shows the same clip correctly conformed using the Rec.2100 HLG (Scene) preset.
DaVinci Resolve releases from 17 onwards also have some inherent issues with normalizing HLG content. There is a major issue where if the Input DRT is enabled, HLG content will not be conformed correctly and as a result will appear much, much darker. Depending on the project settings, the Input DRT and Output DRT perform Tone Mapping, Gamut mapping and may also apply an OOTF to bring scene referred content to display referred, and vice versa. In theory this make sense, but practically, it serves no useful purpose and causes a mess when working in color managed workflows. Unfortunately, the default behavior with Color Management presets in Resolve 17 onwards is to have Input and Output DRT set to DaVinci. This needs to be explicitly altered by using a Custom preset and selecting “None” for Input DRT at the very least.
Using the DaVinci Wide Gamut preset
With the introduction of Resolve 17, there is now an HDR DaVinci Wide Gamut/Intermediate preset as well. In many ways, this is another alternative to an ACES workflow. Much like ACES, it expands the source clips to a wider working color space and gamma in order to cater for HDR workflows. When importing Log footage, especially HLG, this should be the preferred selection as it will expand the footage to use a larger color space and wider dynamic range. Even if the output format is Rec.709, the conforming of Log footage to a wider timeline space is a much better experience than compared to a standard SDR Rec.709 preset. The performance of DaVinci Wide Gamut and DaVinci Intermediate is very similar to ACEScc(t) and ACES AP1. With that said, the Input DRT bugs are also manifested when using the Wide Gamut preset so any Input DRT should always be disabled as standard practice.
Note: Resolve version 17.4 onwards has introduced further changes to the HDR presets by changing the default HDR setting to Rec.2020 / DaVinci Intermediate. When choosing the Color Management setting in Resolve, it’s important to be fully aware of all the input and output settings. Don’t rely on the default simplified presets. They are terrible due to the Input DRT being enabled by default.
What if we wanted to conform HLG media that is exposed at 38% IRE, or conform Sony specific HLG content? All these color management and input setting issues can be avoided by using the HLG Normalized Plugin instead. The plugin is explained in the HLG Normalized section further below.
HLG in ACES
There is currently no ACES Input Device Transform (IDT) available for HLG inside DaVinci Resolve. This is because Hybrid Log Gamma has not been included in any of the current ACES implementations. There is an ACES HLG 1000 NIT profile inside Resolve, but this is actually an Output Device Transform (ODT), not an ACES IDT and MUST NOT be used for any ACES input settings.
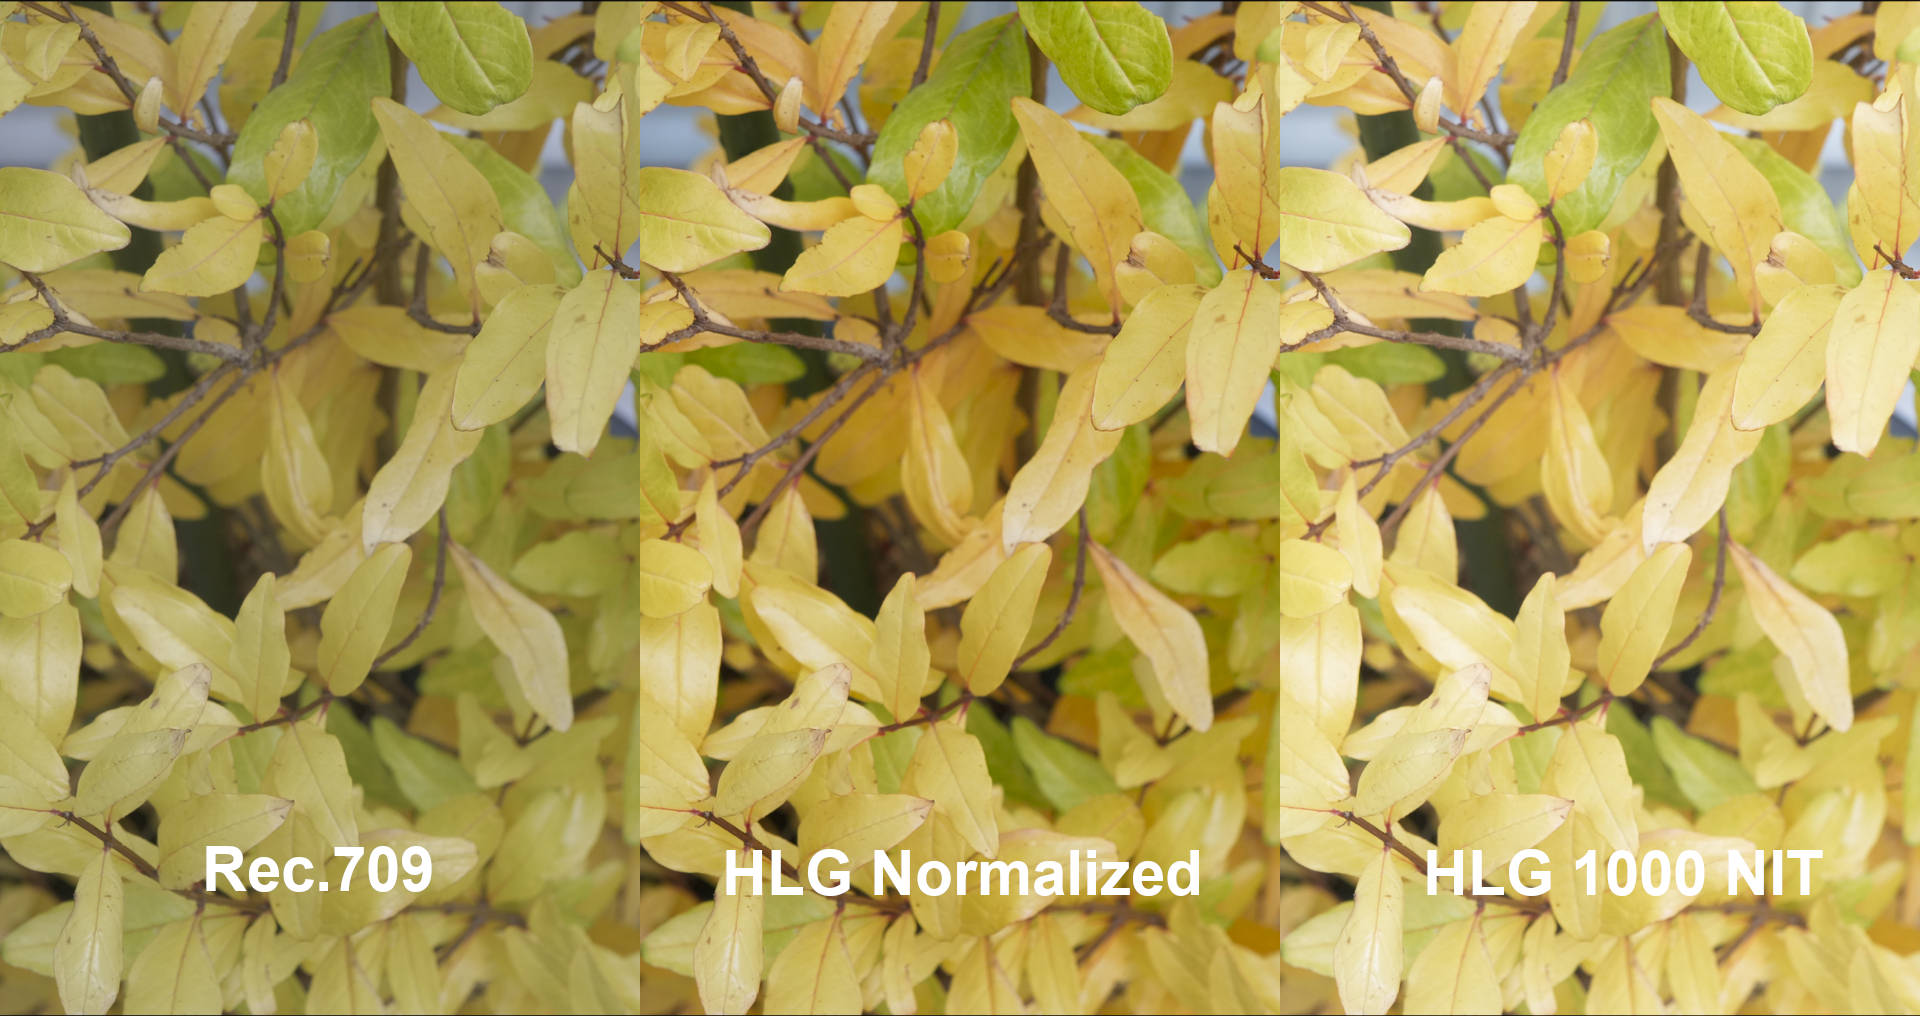
Given the lack of a valid HLG IDT in ACES, I have developed the HLG Normalized Transform to fill this void. It includes ACES Input Device Transform presets for HLG BT.2100, HLG BT.2408, Sony HLG1, Sony HLG2 and Sony HLG3 profiles. The relevant HLG type can be selected through the DCTL/LUT dropdown for each individual clip for Resolve 17 and earlier. The image below shows footage that is incorrectly normalized using a Rec.709 preset as well as the HLG 1000 NIT ODT preset. Note how washed out the Rec.709 footage is compared to the HLG Normalized transform and how over-exposed the HLG 1000 NIT ODT is compared to the HLG Normalized Transform.
As of Resolve version 17.2, these IDTs can now also be selected using the ACES Input Transform settings at both the clip and project settings level. Alternatively, there is also the HLG Normalized Plugin which is detailed in the HLG Normalized section further below.
To use the HLG IDTs from the HLG Normalized Transform, simply select the desired HLG IDT at the Project Settings level or at the individual clip level under ACES Input Transform. For example, to normalize footage exposed at 38% IRE, The HLG BT.2408 IDT has been selected at the project level in the image below.
Normalizing with a Non-Color Managed workflow
When importing properly exposed standard HLG media (i.e. HLG. BT2100 exposed at 21% IRE) into a non-color managed workflow, a simple Color Space Transform can be used in order to conform footage to the project preset. It’s best to avoid any Tone mapping when using a Color Space Transform though as this can result in undesirable behavior, unless one knows exactly what they’re doing or needs a simple HLG HDR to SDR mapping.
DaVinci Resolve does also include HLG conversion LUTs as part of the standard installation, but these only perform a Gamma transform, not a color space transform and shouldn’t be used if you’re aiming for both. There is also the matter of Lookup Tables having much less accuracy when compared to a proper technical transform. The 32-bit floating point math of a proper transform always wins against a LUT which has to perform interpolation and therefore guesstimate output settings between the designated points.
One could also use the default Rec.709 input/output for HLG content, but the image will appear extremely dark and washed out as observed earlier. If the HLG recording was exposed at 38% IRE as per the BT.2408 recommendation, the incorrect Rec.709 setting would appear slightly less dark, but still slightly washed out. In fact this would be the easiest way to view HLG on a monitor/screen with no HLG HDR support – this was also the intent of the Engineers who conceived HLG as a form of “backwards compatibility”. However, the downside to this approach is that the source media colors conform to a Rec.2020 Gamut, not a Rec.709 gamut and any interpretation of Rec.2020 colors on a Rec.709 screen without proper color gamut mapping will result in inaccurate colors being displayed – they generally appear dull and washed out. Simply put, whilst it may be possible to simply use a standard Rec.709 setting for HLG media, PLEASE DON’T – it just looks wrong.
To conform HLG content that has been exposed at 38% IRE, or footage that has been recorded using Sony’s custom HLG profiles, refer to the HLG Normalized section below where the HLG Normalized Plugin is discussed.
Normalizing with HLG Normalized
Whilst we’ve explored normalizing HLG content that has been correctly exposed, what about content that has been incorrectly exposed, or shot using the HLG BT.2408 recommendations at 38% IRE, or even Sony’s custom HLG1, HLG2 & HLG3 profiles?
Based on all the previous points, if we import footage that has been exposed at 38% IRE and normalize it using the standard HLG BT.2100 profile, our footage will be extremely blown out, as is visible in the image below.
Sony HLG footage will also appear darker than it is due to normalization using an incorrect gamma curve. We could manually adjust the exposures using Resolve’s controls, but this would also introduce significant degrees of inaccuracy based on the designated workflows, especially when trying to conform the custom Sony HLG implementations as the gamma curves are simply not the same. To this effect, we can use the HLG Normalized Plugin to conform our media and even adjust exposures as required. It includes the HLG BT.2408 presets as well as the Sony HLG1, HLG2 and HLG3 implementations, with a range of output options from Rec.709 to ACES.
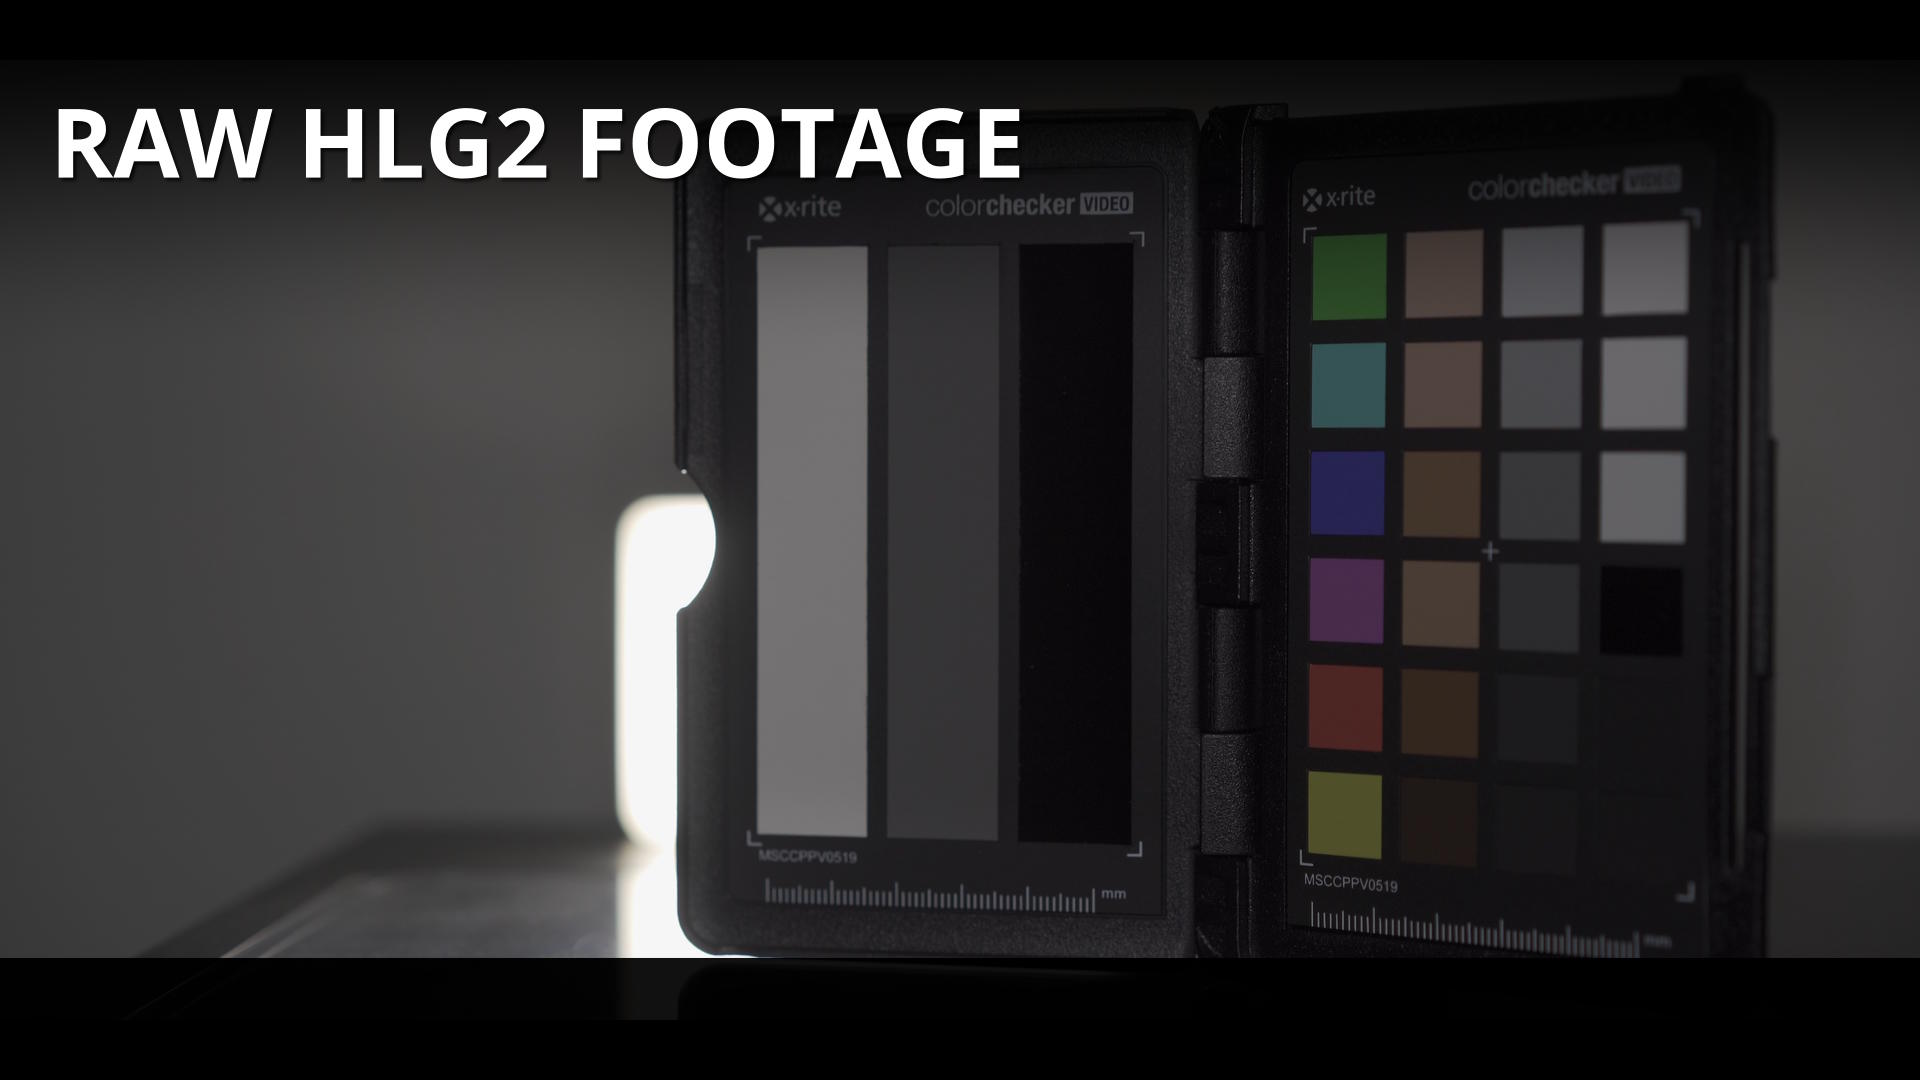
For example, when using the HLG Normalized Plugin for normalization to Rec.709 Scene, if we look at footage that has been exposed at 38% IRE, the Middle Gray exposure chart is perfectly on point.
There is also the problem of transforming negative encoded values in some cameras such as the Panasonic Lumix series. Often times these negative values will manifest as black splotches or spots on a clip, especially in older version of Resolve. The HLG Normalized Plugin and Transform clamp these negatives so that they don’t appear across the scene.
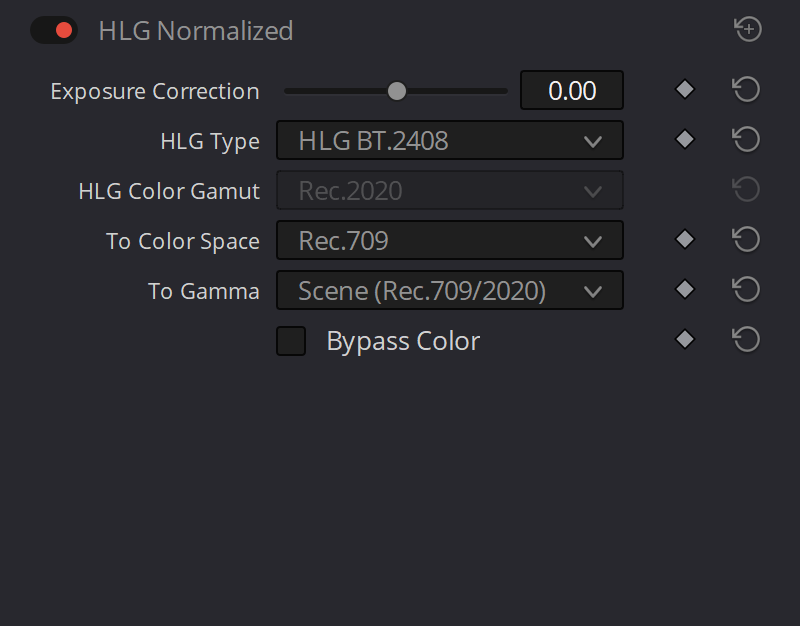
Usage of the HLG Normalized Plugin is fairly straight forward, whether in DaVinci Resolve, Assimilate Scratch or other Video Editing and VFX applications. In a Non-Color managed workflow, it is as simple as loading the HLG Normalized plugin in the Color Page and setting the relevant Normalization parameters. In a Color Managed workflow, depending on the software version used, the input transform of each clip should be set to “Same as Timeline” or Bypass (not to be confused with Bypass Color Management) and the “To Gamma” and “To Color Space” parameters of the HLG Normalized plugin must align with the relevant project settings.
I have created a few simple YouTube tutorials of the HLG Normalized Plugin in action across different workflows inside Resolve and Assimilate Scratch. Similar principles will also apply when working with Fusion, Natron, Nuke etc.
-
 HLG Normalized LUT Pack$29.00 AUD
 -
 HLG Normalized OFX Plugin$39.00 AUD
 -
 HLG Normalized Transform$29.00 AUD


Just came across this article (and Pt 1). Great articles, very helpful to me to better understand HLG. I didn’t realise there are two variants with different exposures. How does the TV receiver or editing software know which one is used in any particular file? The Rep 2408 version seems more compatible with SDR.
Dave
G’day Dave,
There is only one HLG standard (if you ignore Sony’s custom HLG profiles), but BT.2408 is actually a recommendation for exposing with that HLG standard. When it comes to viewing on TVs, non-HLG capable TVs will always assume the picture as Rec.709, hence why a recording aligned to BT.2408 will look close enough to a standard SDR signal. On HLG capable TVs, an OOTF is applied on the respective output to map the overall scene to the relative luminance capabilities of the display. There’s no right or wrong answer here – just different shades of gray depending on whether the intent is to preserve highlights (HLG BT.2100) or mid-tones (HLG BT.2408). Viewing HLG is a whole different topic by itself and I may cover it off at some point in the future.
Hi
Thanks for getting back to me. I see your point about mapping to the luminance capabilities of the display. But does the receiver know how the footage was exposed (through metadata for example), or does it assume it’s to Rep 2408.
I also find it interesting that the original concept seems to have been based on a normalised clipping luminance input of 12 (given the formulae in the original AIRB document) whereas Rep 2408 seems to be based on a clipping input of about 3 according to my calculations.
Dave
In the case of HLG, the display would have no information regarding exposure levels, only that a file was flagged as HLG. HLG is a relative HDR format as opposed to PQ which is absolute.
The maximum input value is 12 for HLG. Often times the HLG transfer function is shown normalized to the 0-1 range and any input value must also be divided by 12 if using the normalized function. It’s important to remember that BT.2408 is simply a recommendation where you are over-exposing HLG for best (read as recommended) production practices. The range is still 0 – 12, but you are now exposing to the right (ETTR) which means that you have more range in the shadows and less in the highlights.